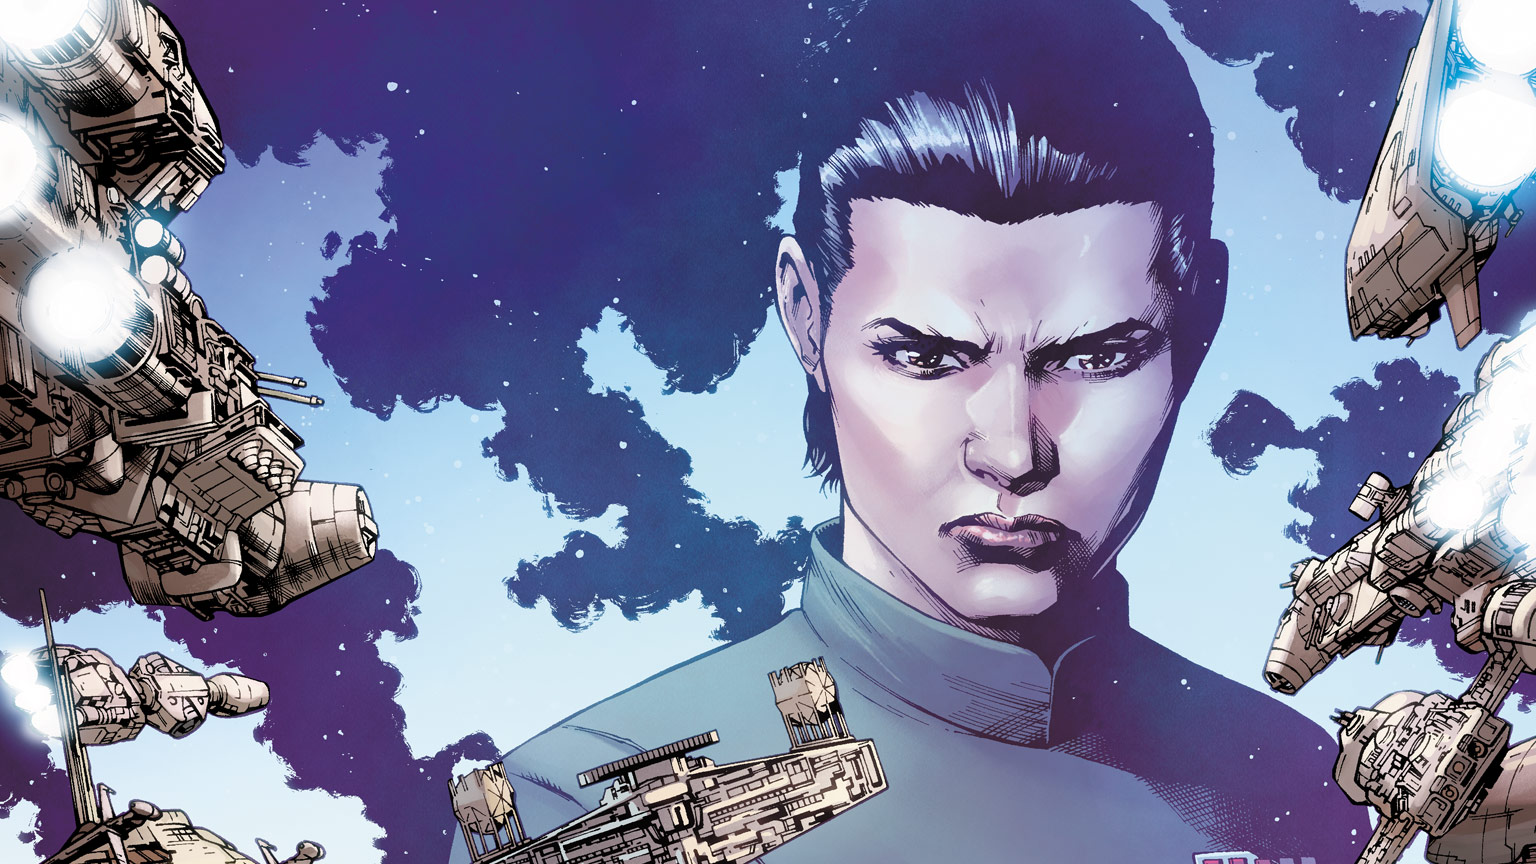
Commander Zahra strikes back in Star Wars #23, written by Charles Soule, art by Ramon Rosanas, colored by Rachelle Rosenberg and lettered by Clayton Cowles.
It’s become a bit of a cliche by now to point out whenever a Star Wars story emphasizes the “war” bit of its name. But cliches exist for a reason, and for all the spaceship battles inspired by WWII dogfight footage baked into its DNA, it’s true that many Star Wars stories emphasize the more fantastical and Campbellian elements over the more militaristic ones. When a more “war” orientated plot happens, when a story zeroes in to depict, say, a sci-fi riff on naval vessels launching broadsides at each other, a Patrick O’ Brian novel in space, it’s worth pointing out the relative deviation from the norm.
That’s the case with Star Wars #23, which picks up where the relative slow burn of the previous issue left off, with Commander Zahra’s Tarkin’s Will Star Destroyer facing down the near-completely reassembled Rebel fleet; one lone ship against dozens. Zahra reacts the way we usually expect villains in this situation to act: with blustery rhetoric expressing a sureness of victory and a commitment to a misguided belief that they are, in fact, the good guys who will triumph over “evil”. Yet it quickly becomes clear there is more than bluster to Zahra’s words: she has a plan, and the forces under her command execute it flawlessly.
The resulting action is so devastating to the Rebel fleet, I honestly expected some kind of fake out, a reveal that the sequence being depicted was a representation of Zahra’s vision for how the battle would unfold, only to discover that in reality, her confidence in the actions to be taken by the Rebels would be unfounded and they’d turn the tables on her. Or that the whole sequence ended up being the fever dream of a captive and tortured Shara Bey. Or something that meant the Rebel fleet wasn’t actually so thoroughly trounced.
But instead, the execution of Zahra’s plan results in a military loss for the Rebel Alliance that rivals, if not exceeds, the one suffered at the Battle of Hoth in The Empire Strikes Back (a battle which didn’t include the demoralizing act of the Rebels executing their own lost troops in order to save some others…who end up getting destroyed by the Imperials anyway. So this is probably a worse loss in the grand scheme of things).
It’s a gut-punch of a narrative turn from Charles Soule, one which adds an element of genuine surprise and loss to a story whose outcome, at least on a macro level, is preordained. We know the Alliance fleet in some form will live to fight – and win – the Battle of Endor in Return of Jedi, but this issue still manages to bring the immediate story arc to a shocking and devastating head despite that knowledge. By keeping the focus of the story during the battle on Zahra (there are no cutaways, say, to Princess Leia or Admiral Ackbar on the Rebel side of things until after the battle is over), Soule also plays into Ramon Rosanas’ strengths, letting him depict the events of the battle chiefly through the movements of the unfeeling, mechanical ships.
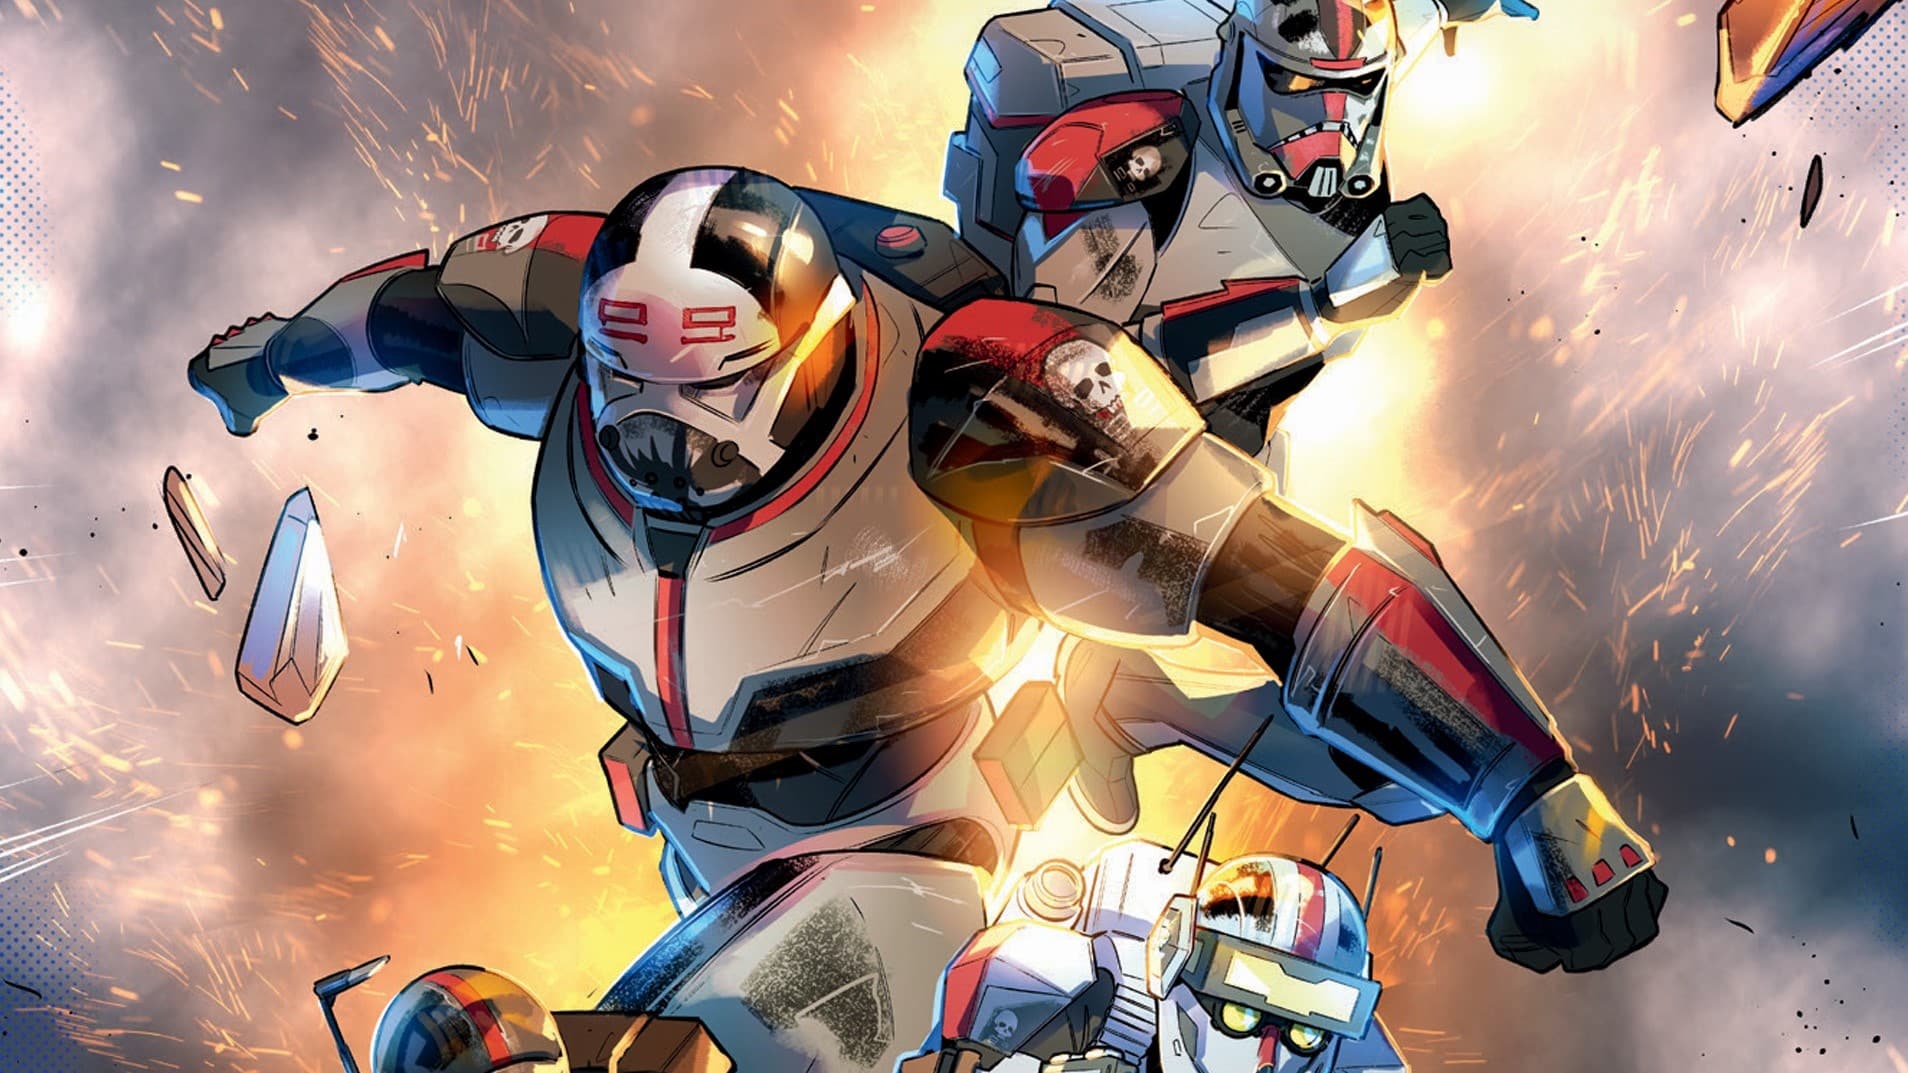
Ultimately, the only reason the Alliance isn’t completely routed is because Soule picks up the thread of the Shara Bey subplot, using the presence of the stowaway Pathfinders aboard Tarkin’s Will, delivered as a result of their illegal rescue mission launched last issue, to turn the tide. With Shara’s inside knowledge culled from all those issues spent living in the Star Destroyer while everyone else was busy being in a crossover, a detachment of Pathfinders is able to cripple Tarkin’s Will, single-handedly getting the Rebel fleet back in the game by enabling it to finally inflict some damage on the ship, setting it crashing to the ground of the nearby planet.
That action is also an effective illustration of one of the core themes of Star Wars. The mission to rescue Shara Bey was off-the-books. Had Leia been asked about it, she would have assuredly said no, because it was, in the context of a military engagement, high risk for minimal reward. Yet for the love of his wife, Kes Dameron went anyway, and for the love of their friends and teammates, the members of the Pathfinders and Starlight Squadron disobeyed orders to back him up. Because they did so, they were in a position to deal a devastating blow to Zahra’s plan, cripple her ship, and help the Alliance win the day (to say nothing of survive). Zahra had outmaneuvered the Rebels and positioned herself for victory; yet since Kes Dameron and his friends did what they felt was right even though it may have been militarily wrong, she ultimately lost the battle.
That’s not the end of Zahra, of course – a final page cliffhanger sets up the next issue as a surviving Zahra climbs from the wreckage of her monument to Grand Moff Tarkin and personally challenges Leia to come down to the planet and face her, ensuring that, in the end, the final showdown between Zahra and the Rebels, personified by Princess Leia, will be much more personal that the dueling spaceships depicted in Star Wars #23. For this issue though, it was military prowess that was on display, even as the battle was ultimately won thanks to a husband’s devotion to his wife, and their friends’ devotion to each other, as the empathy of the Rebellion once again prevails against the cool precision and tactical acumen of the Empire.

Austin Gorton also reviews older issues of X-Men at the Real Gentlemen of Leisure website, co-hosts the A Very Special episode podcast, and likes Star Wars. He lives outside Minneapolis, where sometimes, it is not cold. Follow him @austingorton.bsky.social.